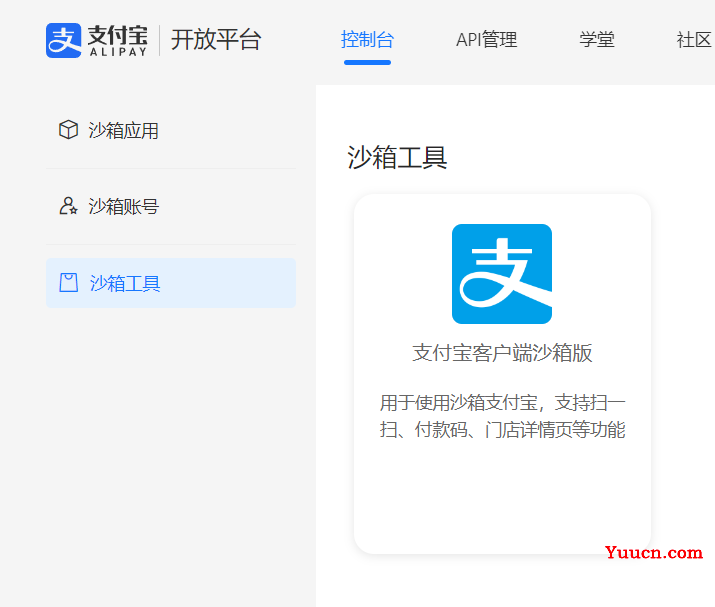
一:打开支付宝开发平台,登录,然后点击控制台
https://open.alipay.com/

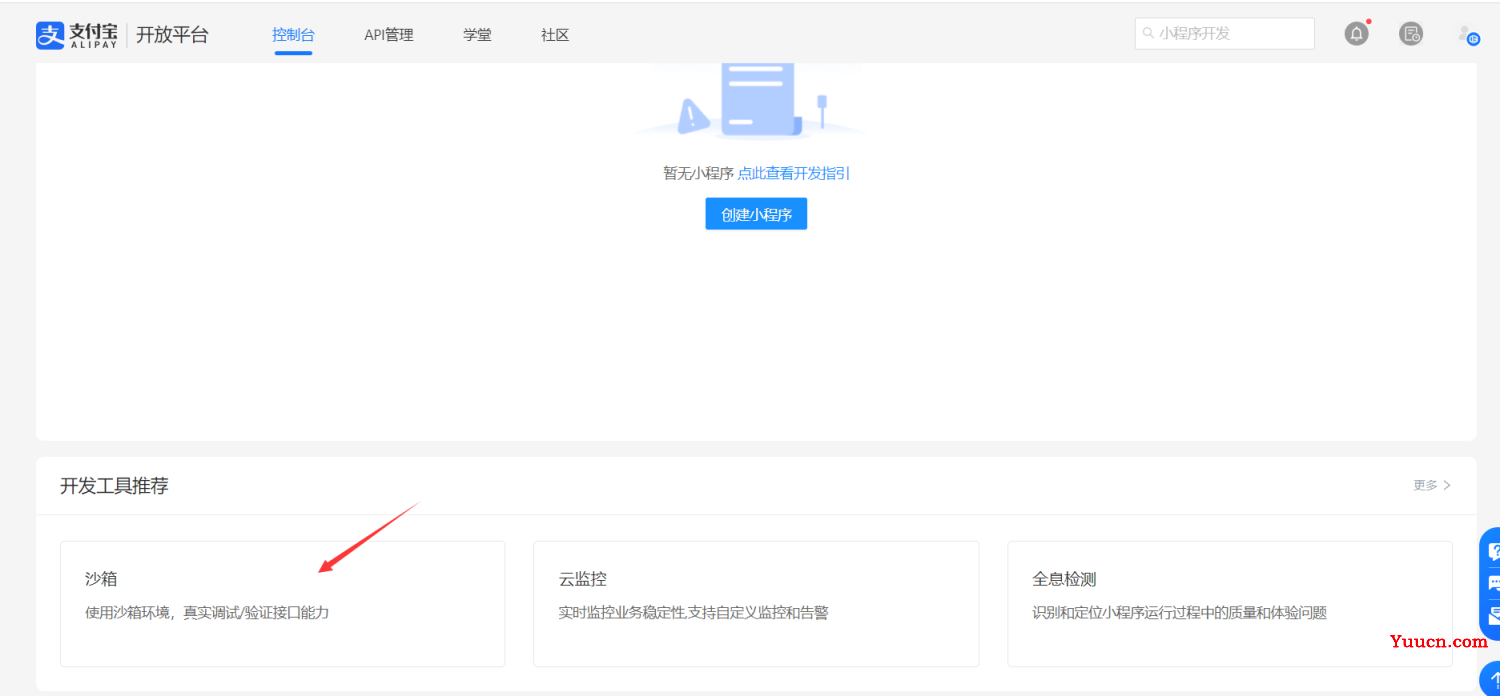
二:滚动到底部,选着沙箱服务
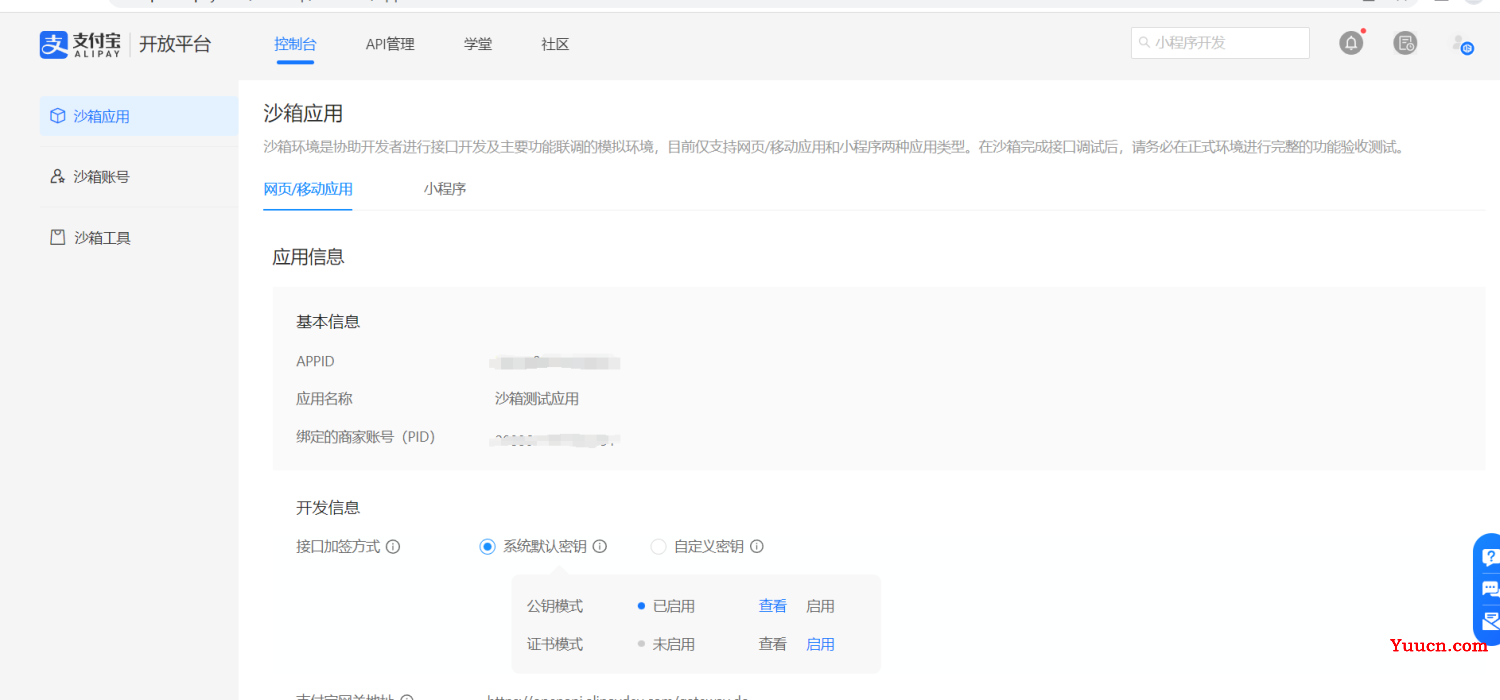
三:获取到对接要用的appId和公钥私钥

四:打开IDEA导入所需的xml文件
<!--        支付宝-->
        <!-- https://mvnrepository.com/artifact/com.alipay.sdk/alipay-easysdk -->
        <dependency>
            <groupId>com.alipay.sdk</groupId>
            <artifactId>alipay-easysdk</artifactId>
            <version>2.2.0</version>
        </dependency>
五:编写实体类:
import lombok.Data;
@Data
public class Alipay {
    private String traceNo;
    private String totalAmount;
    private String subject;
    private String alipayTraceNo;
}
六:编写yaml文件(这里的回调要用网络https服务,这里建议使用花生壳可以完成域名访问!)
  #支付宝配置
alipay:
  appId: ?
  #私钥
  appPrivateKey: ?
  #公钥
  alipayPublicKey: ?
  #回调地址
  notifyUrl: ?
七:编写服务类:
import com.alipay.easysdk.factory.Factory;
import com.alipay.easysdk.kernel.Config;
import lombok.Data;
import org.springframework.boot.context.properties.ConfigurationProperties;
import org.springframework.stereotype.Component;
import javax.annotation.PostConstruct;
@Data
@Component
@ConfigurationProperties(prefix = "alipay")
public class AplipayConfig {
    private String appId;
    private String appPrivateKey;
    private String alipayPublicKey;
    private String notifyUrl;
    @PostConstruct
    public void init() {
        // 设置参数(全局只需设置一次)
        Config config = new Config();
        config.protocol = "https";
        config.gatewayHost = "openapi.alipaydev.com";
        config.signType = "RSA2";
        config.appId = this.appId;
        config.merchantPrivateKey = this.appPrivateKey;
        config.alipayPublicKey = this.alipayPublicKey;
        config.notifyUrl = this.notifyUrl;
        Factory.setOptions(config);
        System.out.println("=======支付宝SDK初始化成功=======");
    }
}
八:编写控制器(写完控制器建议直接测试访问看看可不可以访问的到,链接在第九步)
import com.alipay.easysdk.factory.Factory;
import com.alipay.easysdk.payment.page.models.AlipayTradePagePayResponse;
import com.rookie.sixthbackstage.entity.Alipay;
import com.rookie.sixthbackstage.entity.OrderItem;
import com.rookie.sixthbackstage.mapper.OrderItemMapper;
import org.springframework.beans.factory.annotation.Autowired;
import org.springframework.web.bind.annotation.GetMapping;
import org.springframework.web.bind.annotation.PostMapping;
import org.springframework.web.bind.annotation.RequestMapping;
import org.springframework.web.bind.annotation.RestController;
import javax.servlet.http.HttpServletRequest;
import java.net.URLEncoder;
import java.util.HashMap;
import java.util.Map;
@RestController
@RequestMapping("/alipay")
public class AliPayController {
    @Autowired
    OrderItemMapper orderItemMapper;
    @GetMapping("/alipay") // &subject=xxx&traceNo=xxx&totalAmount=xxx
    public String pay(Alipay aliPay) {
        AlipayTradePagePayResponse response;
        try {
            //  发起API调用(以创建当面付收款二维码为例)
            response = Factory.Payment.Page()
                    .pay(URLEncoder.encode(aliPay.getSubject(), "UTF-8"), aliPay.getTraceNo(), aliPay.getTotalAmount(), "《这里放支付成功的地址!》");
        } catch (Exception e) {
            System.err.println("调用遭遇异常,原因:" + e.getMessage());
            throw new RuntimeException(e.getMessage(), e);
        }
        return response.getBody();
    }
    @PostMapping("/notify")  // 注意这里必须是POST接口
    public String payNotify(HttpServletRequest request) throws Exception {
        if (request.getParameter("trade_status").equals("TRADE_SUCCESS")) {
            System.out.println("=========支付宝异步回调========");
            Map<String, String> params = new HashMap<>();
            Map<String, String[]> requestParams = request.getParameterMap();
            for (String name : requestParams.keySet()) {
                params.put(name, request.getParameter(name));
                // System.out.println(name + " = " + request.getParameter(name));
            }
            int tradeNo = Integer.parseInt(params.get("out_trade_no"));
            String gmtPayment = params.get("gmt_payment");
            String alipayTradeNo = params.get("trade_no");
            double pay_price= Double.parseDouble(params.get("buyer_pay_amount"));
            // 支付宝验签
            if (Factory.Payment.Common().verifyNotify(params)) {
                // 验签通过
                System.out.println("交易名称: " + params.get("subject"));
                System.out.println("交易状态: " + params.get("trade_status"));
                System.out.println("支付宝交易凭证号: " + params.get("trade_no"));
                System.out.println("商户订单号: " + params.get("out_trade_no"));
                System.out.println("交易金额: " + params.get("total_amount"));
                System.out.println("买家在支付宝唯一id: " + params.get("buyer_id"));
                System.out.println("买家付款时间: " + params.get("gmt_payment"));
                System.out.println("买家付款金额: " + params.get("buyer_pay_amount"));
                // 支付成功后,修改自己的订单状态,这里的方法是我自己写的,根据自己实际情况来做更改
                OrderItem orderItem=new OrderItem(0,tradeNo,0,pay_price,gmtPayment,"","已支付");
                orderItemMapper.updateOrderItemById(orderItem);
            }
        }
        return "success";
    }
}
九:前端测试
 //http://localhost:8089/alipay/alipay?subject=asdflas&traceNo=123123&totalAmount=29999//链接,复制到浏览器试试看可不可以打开支付宝的页面
 //http://localhost:8089/alipay/alipay/asdflas/123123/29999//传数据,名称,订单号,价格,更多参数请参考官网的文档!
//结账按钮绑定的方法
 gopay() {
            var url = localhost + "/alipay/alipay?subject=" + subject + "&traceNo=" + traceNo + "&totalAmount=" + totalAmount;
            location.href = url;
 },
十:结果
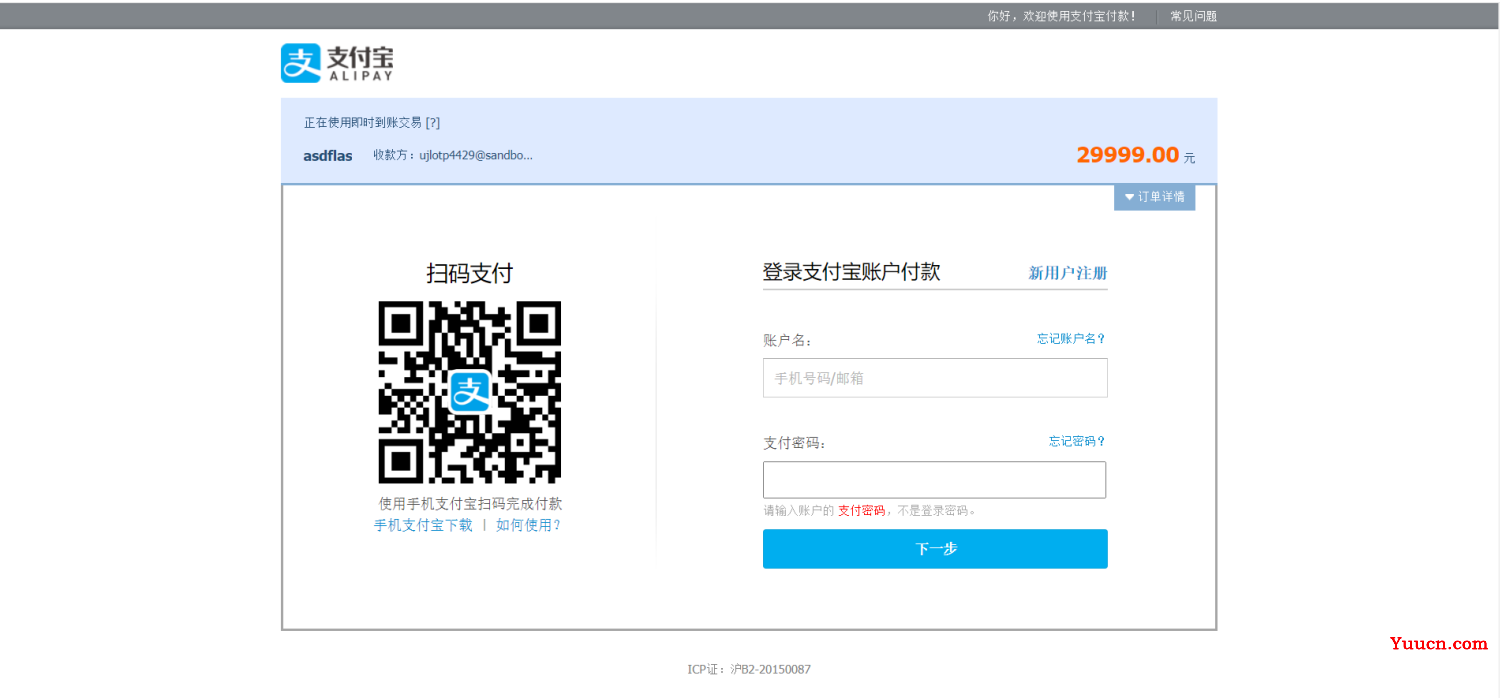
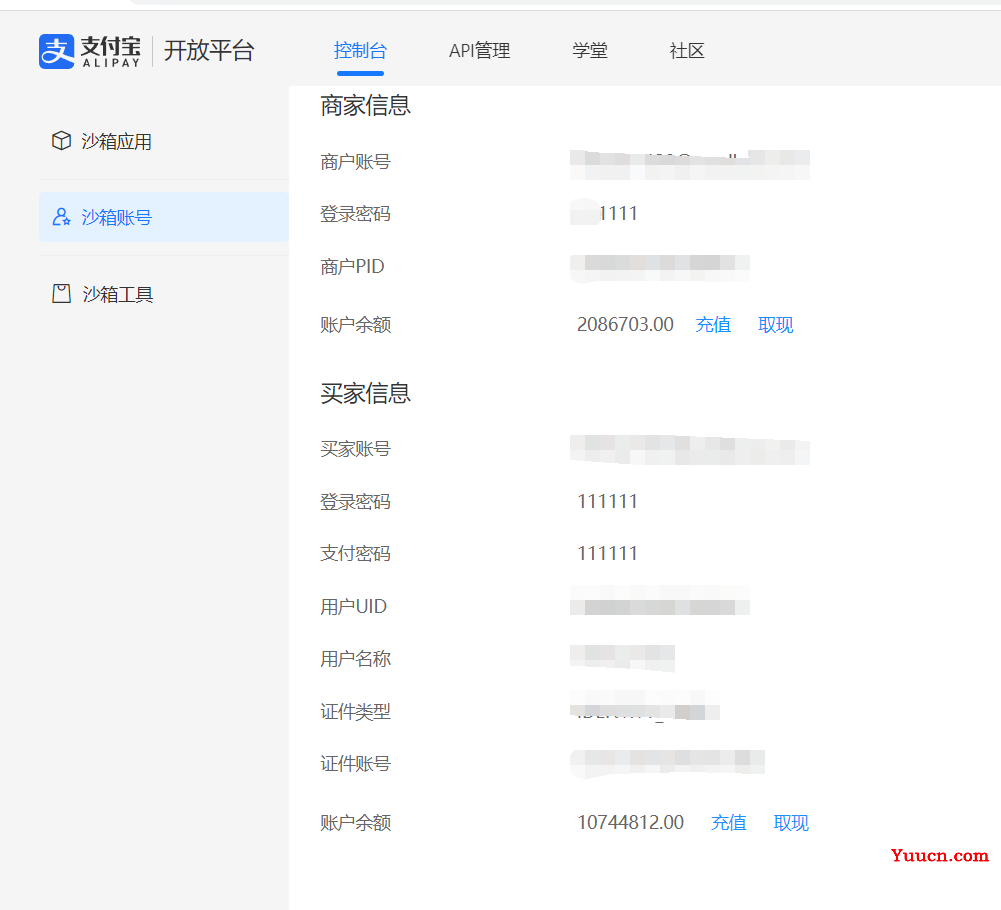
十一:想要扫码支付的要下载沙箱的支付宝,账号密码的话在沙箱账号里,也是沙箱支付宝的登录账号!
