Vue3点击侧边导航栏完成切换页面组件
目录
- 效果
- 思路
- 过程
-
- 获取当前点击DOM并添加点击class
- 将其它的导航未点击项isclick样式类去除
- 完整代码
-
- 导航代码
- 显示页面代码
- 路由设置
- 感谢
效果

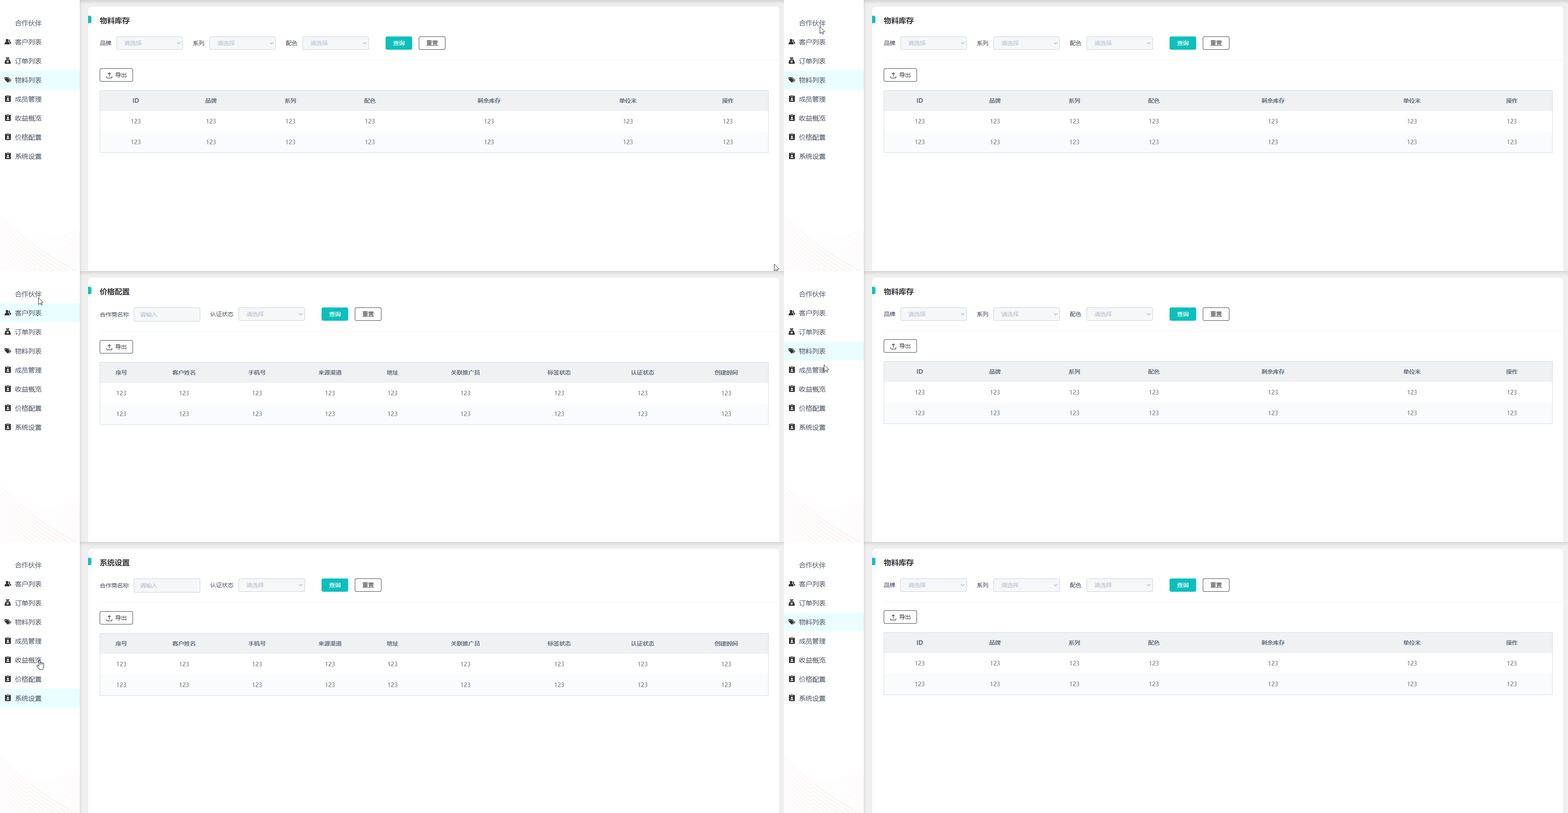
点击左侧导航,右面页面切换。
思路
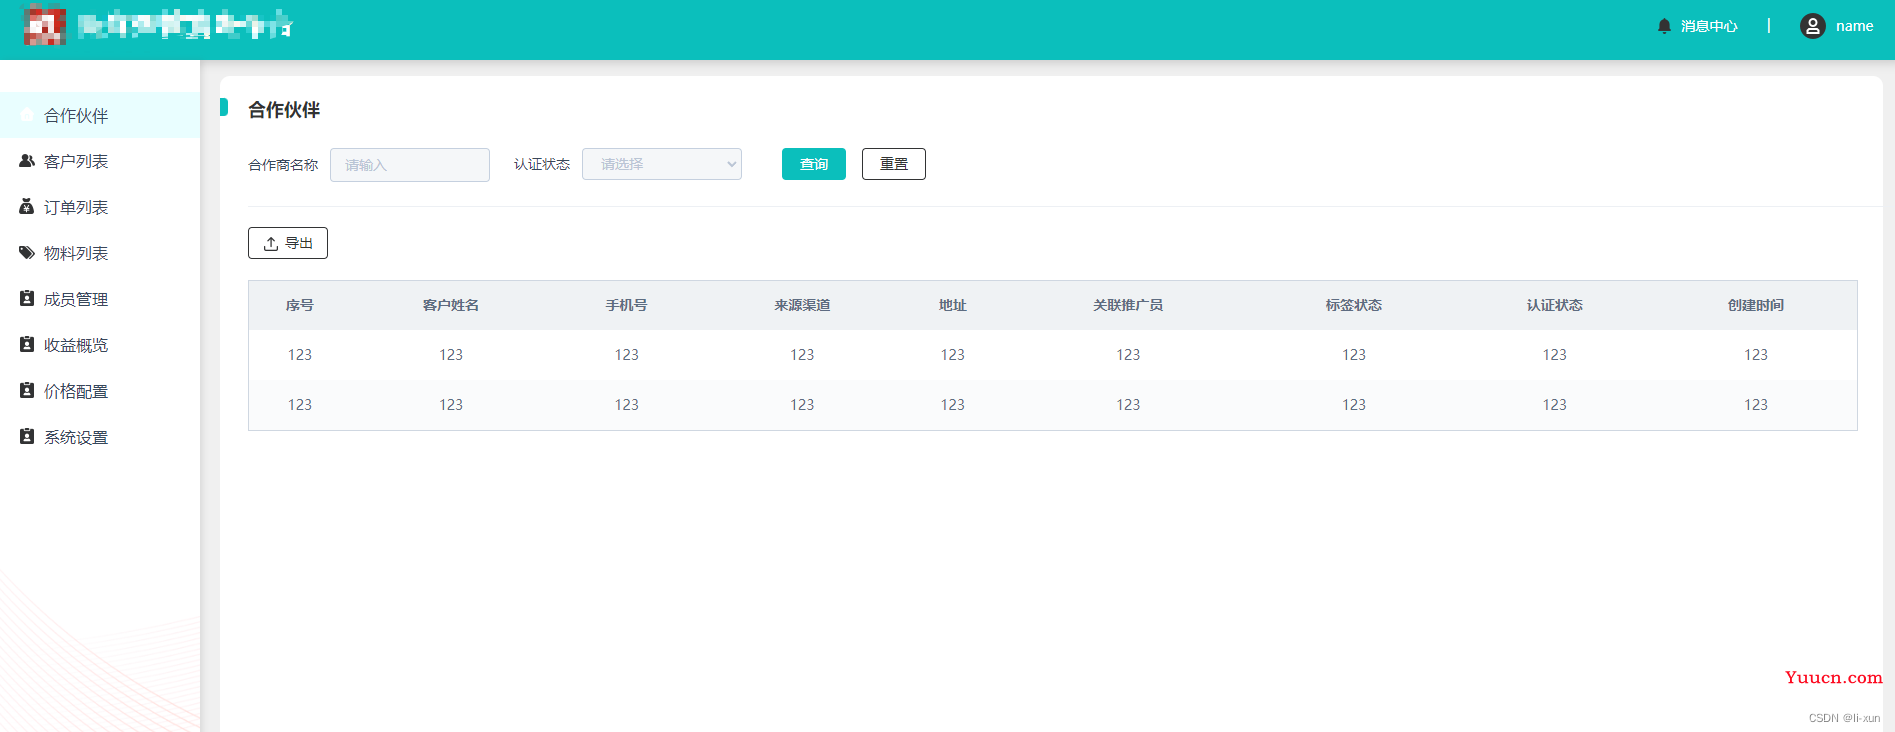
使用router-view显示点击后需要切换的组件,需要先完成网页的结构。侧面导航 + 页面显示部分
如:

设置一个class属性,点击元素时给当前元素额外添加一个class类。给导航中每个点击项添加上点击事件,当点击当前项时其它项的class变成原本的,当前元素添加一个当前点击的class类,而组件切换则由router完成,使用router-link to 完成路由路径切换。
当前点击模式类代码:
	.isclick {
		background: #e9feff;
		color: #0bbfbc;
	}
过程
获取当前点击DOM并添加点击class
这里需要注意,触发事件的元素对象(不一定是绑定事件的对象,会因为事件冒泡变化),所以我们需要获取绑定事件的元素对象。
$event:当前触发的是什么事件
$event.target:触发事件的元素对象(不一定是绑定事件的对象)
$event.currentTarget:绑定事件的元素对象
此处需要使用: e.currentTarget
改变选中元素的class: e.currentTarget.className = ‘nav-item isclick’
其中nav-item为未点击时的navitem样式类,isclick为点击后更改的样式类,原来样式只有一个nav-item,再添加一个isclick。
将其它的导航未点击项isclick样式类去除
-
得到点击项的其它兄弟节点
var domList = e.currentTarget.parentNode.childrenparentNode 是得到父节点
children 是得到子节点
当前元素的父节点的所有子节点,是一个列表 -
将所有节点的点击样式类去除
for(let d=0;d<domList.length;d++){
	domList[d].className = 'nav-item'
}
遍历当前所有节点的兄弟节点,并修改class。
完整代码
导航代码
导航组件代码:
<template>
	<div class="nav">
		<ul>
			<li v-for="item in NavList" class="nav-item" @click="clickNav($event)">
				<div>
					<img class="nav-icon" :src="item.icon" width="20px" height="20px" alt="sy" />
					<router-link :to="item.url">{{item.title}}</router-link>
				</div>
			</li>
		</ul>
		<div class="nav-img-box" style="margin-top: 108px;">
			<img src="@/assets/装饰图.png" alt="zs" />
		</div>
	</div>
</template>
<script setup>
import { ref,reactive } from 'vue'
var NavList = reactive([
	{
		title: "合作伙伴",
		url: "/partner",
		icon: require("@/assets/首页-选中.png")
	},
	{
		title: "客户列表",
		url: "/customer",
		icon: require("@/assets/客户列表.png")
	},
	{
		title: "订单列表",
		url: "/order",
		icon: require("@/assets/财务列表.png")
	},
	{
		title: "物料列表",
		url: "/materials",
		icon: require("@/assets/标签列表.png")
	},
	{
		title: "成员管理",
		url: "/corpuser",
		icon: require("@/assets/员工列表.png")
	},
	{
		title: "收益概览",
		url: "/income",
		icon: require("@/assets/员工列表.png")
	},
	{
		title: "价格配置",
		url: "/price",
		icon: require("@/assets/员工列表.png")
	},
	{
		title: "系统设置",
		url: "/setting",
		icon: require("@/assets/员工列表.png")
	}
])
function clickNav(e) {
	var domList = e.currentTarget.parentNode.children
	for(let d=0;d<domList.length;d++){
		domList[d].className = 'nav-item'
	}
	console.log('点击',e.currentTarget)
	e.currentTarget.className = 'nav-item isclick'
}
</script>
<style scoped>
	li {
		list-style-type: none;
	}
	a {
		text-decoration: none;
		color: #39475A;
	}
	.nav {
		width: 200px;
		height: 100%;
		background: #FFFFFF;
		box-shadow: 3px 0px 6px 0px rgba(82, 82, 82, 0.14);
	}
	.nav ul {
		margin-top: 32px;
		padding: 0;
	}
	.nav-item {
		width: 200px;
		height: 46px;
		font-family: PingFangSC-Medium;
		font-size: 16px;
		color: #39475A;
		letter-spacing: 0;
		line-height: 46px;
		font-weight: 500;
	}
	.nav-item div {
		margin-left: 17px;
		height: 46px;
		line-height: 46px;
	}
	.nav-item div img {
		width: 20px;
		height: 20px;
	}
	.nav-icon {
		vertical-align: middle;
		margin-right: 7px;
		padding-bottom: 6px;
	}
	.isclick {
		background: #e9feff;
		color: #0bbfbc;
	}
	.nav-img-box img {
		width: 200px;
		height: 416px;
	}
</style>
代码中的icon: require(“@/assets/员工列表.png”)为导航图标,需要注意,如果不用require,直接写图片的地址的话可能出现无法找到图片的问题,图片的地址在html中使用时会被转码,出现类似%E9%A6%96%E9%A1%B5-%E9%80%89%E4%B8%AD.png的情况。
显示页面代码
<template>
  <div class="page-body">
      <PageNav></PageNav>
      <router-view />
  </div>
  <div class="bottom">
    <PageBottom></PageBottom>
  </div>
</template>
<script setup>
import PageNav from "@/components/PageNav"
import PartnerView from "@/views/PartnerView"
import PageBottom from "@/components/PageBottom.vue"
</script>
<style scoped>
.page-body {
  display: flex;
}
</style>
其中PageNav为前面的导航代码
路由设置
router.js中代码如下
import { createRouter, createWebHistory } from 'vue-router'
import PartnerView from '../views/PartnerView.vue'
import CustomerView from '../views/CustomerView.vue'
import OrderView from '@/views/OrderView'
import MaterialsView from '../views/MaterialsView'
import CorpUserView from '@/views/CorpUserView'
import InComeView from '@/views/InComeView'
import PriceView from '@/views/PriceView'
import SettingView from '@/views/SettingView'
const routes = [
  {
    path: '/',
    name: 'index',
    component: PartnerView,
    redirect: 'partner',
  },
  {
    path: '/partner',
    name: 'partner',
    component: PartnerView
  },
  {
    path: '/customer',
    name: 'customer',
    component: CustomerView
  },
  {
    path: '/order',
    name: 'order',
    component: OrderView
  },
  {
    path: '/materials',
    name: 'materials',
    component: MaterialsView
  },
  {
    path: '/corpuser',
    name: 'corpuser',
    component: CorpUserView
  },
  {
    path: '/income',
    name: 'income',
    component: InComeView
  },
  {
    path: '/price',
    name: 'price',
    component: PriceView
  },
  {
    path: '/setting',
    name: 'setting',
    component: SettingView
  }
]
const router = createRouter({
  history: createWebHistory(process.env.BASE_URL),
  routes
})
export default router
感谢
以上,仅记录自己的解决办法,如您有更好的思路,欢迎在评论区留言
感谢点赞,如有帮助可以帮忙收藏关注,感谢!